20 Woodworking Shop Layout Ideas
Ever feel like your woodworking shop is playing a game of hide-and-seek with your tools? You’re not alone. A disorganized shop can suck the joy out of woodworking faster than a dull blade on hardwood. But the good news?
With a clever layout, you can turn your space into a finely tuned symphony of sawdust and satisfaction. Whether you’ve got a full garage or a modest corner of your basement, these 20 woodworking shop layout ideas will help you maximize efficiency, workflow, and creativity.
1. The Classic Triangle Workflow
The golden rule of shop layout: reduce steps between stations. Arrange your sawing, planing, and assembly stations in a triangle. It’s like a dance—you want smooth moves, not awkward stumbles. This layout keeps your movements fluid and your productivity high.
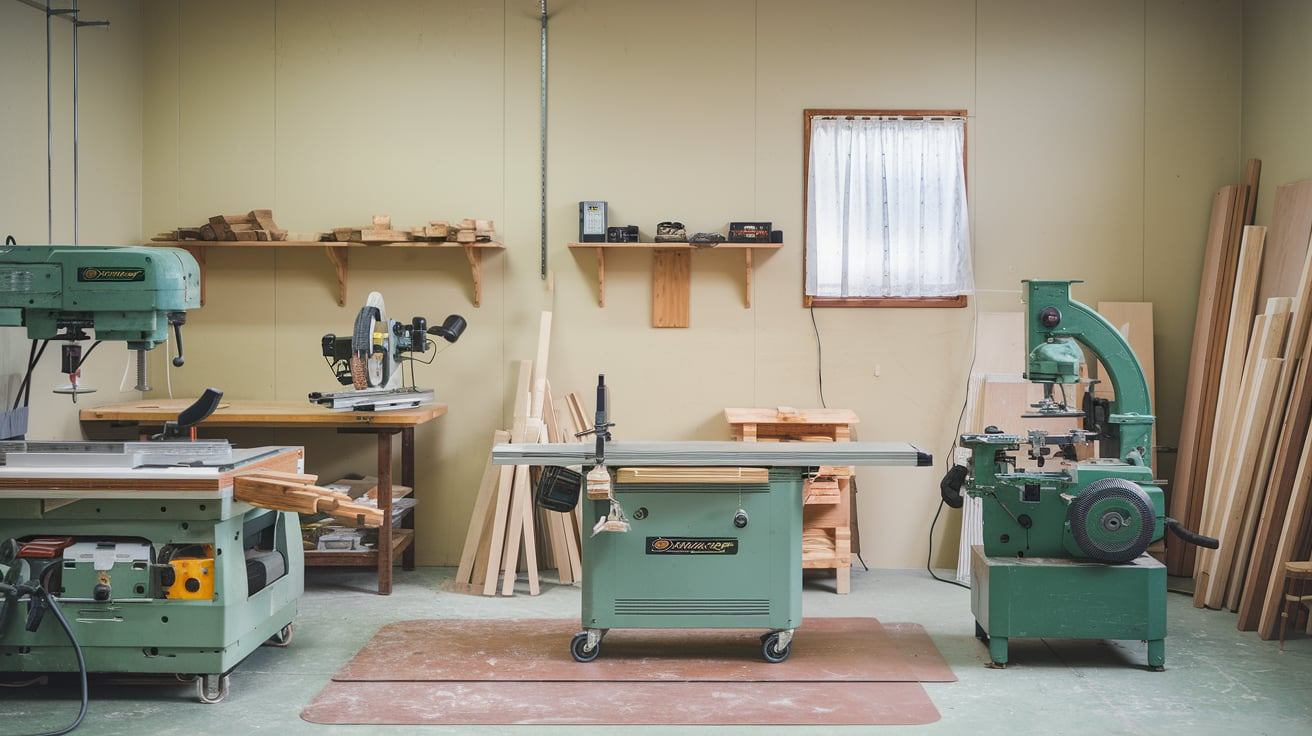
2. Zone-Based Layout
Create zones for different stages of your projects: cutting, shaping, sanding, assembly, and finishing. Think of it like a relay race—each zone passes the baton to the next. You’ll keep your work flowing smoothly without backtracking or clogging your space.
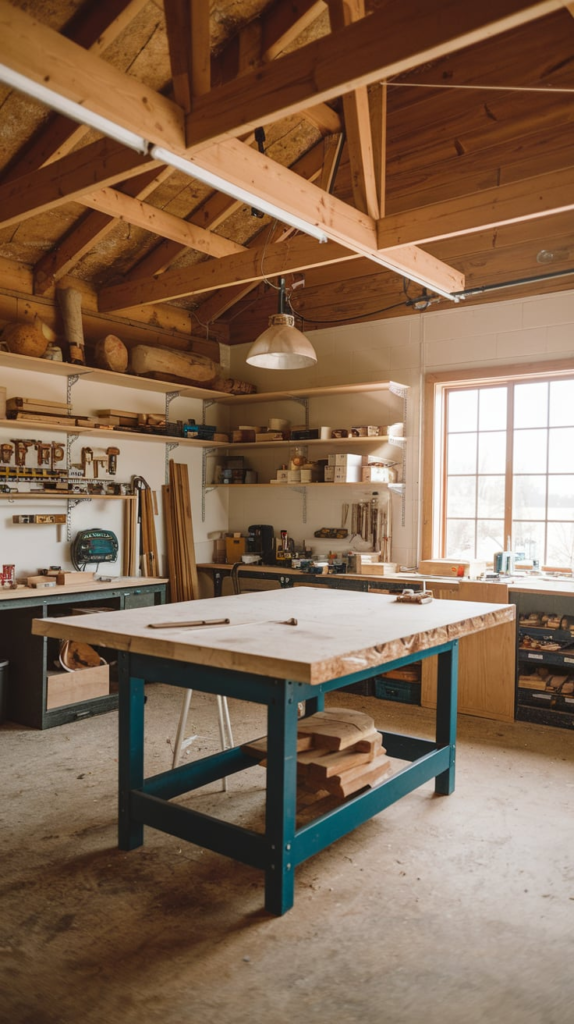
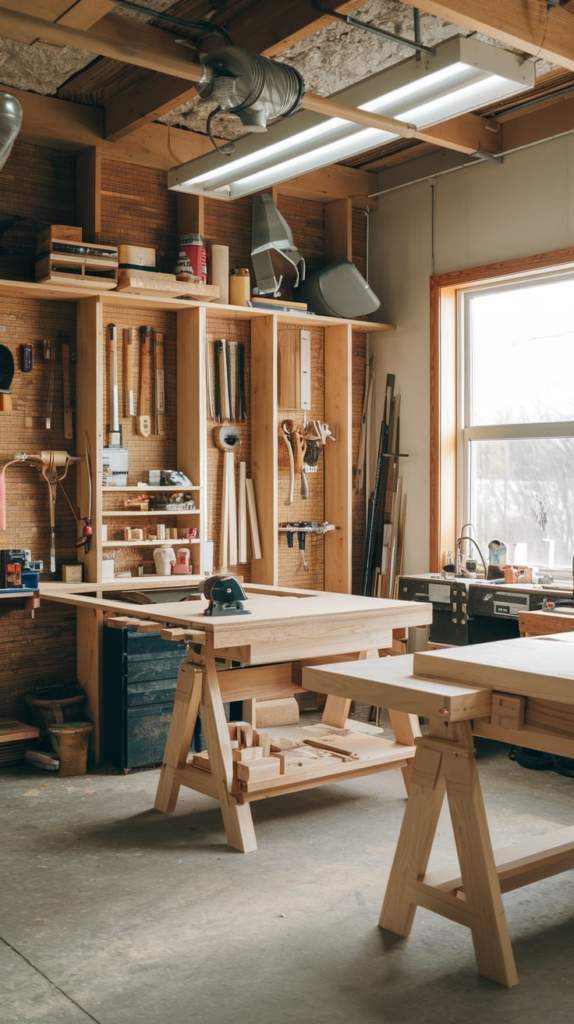
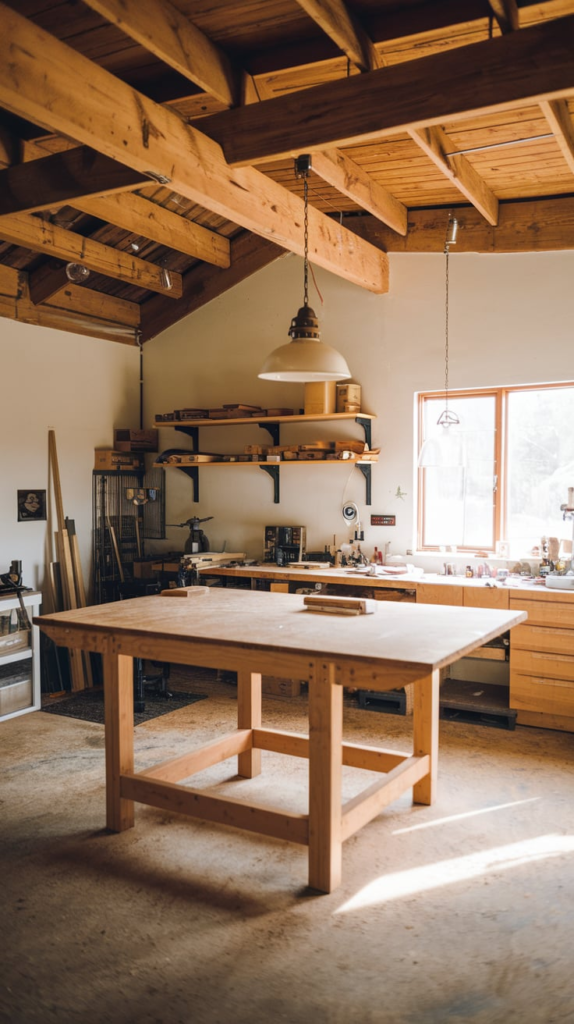
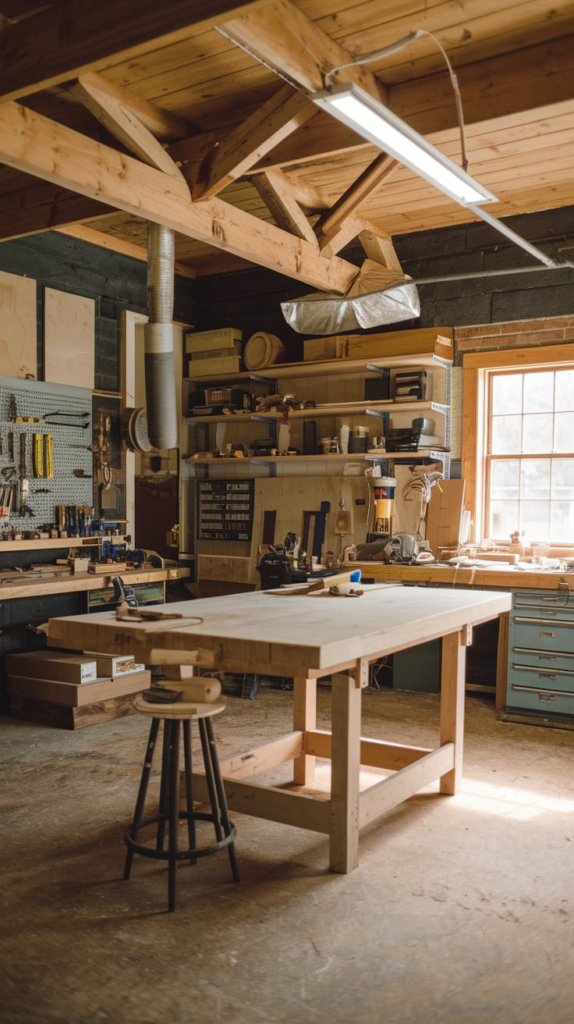
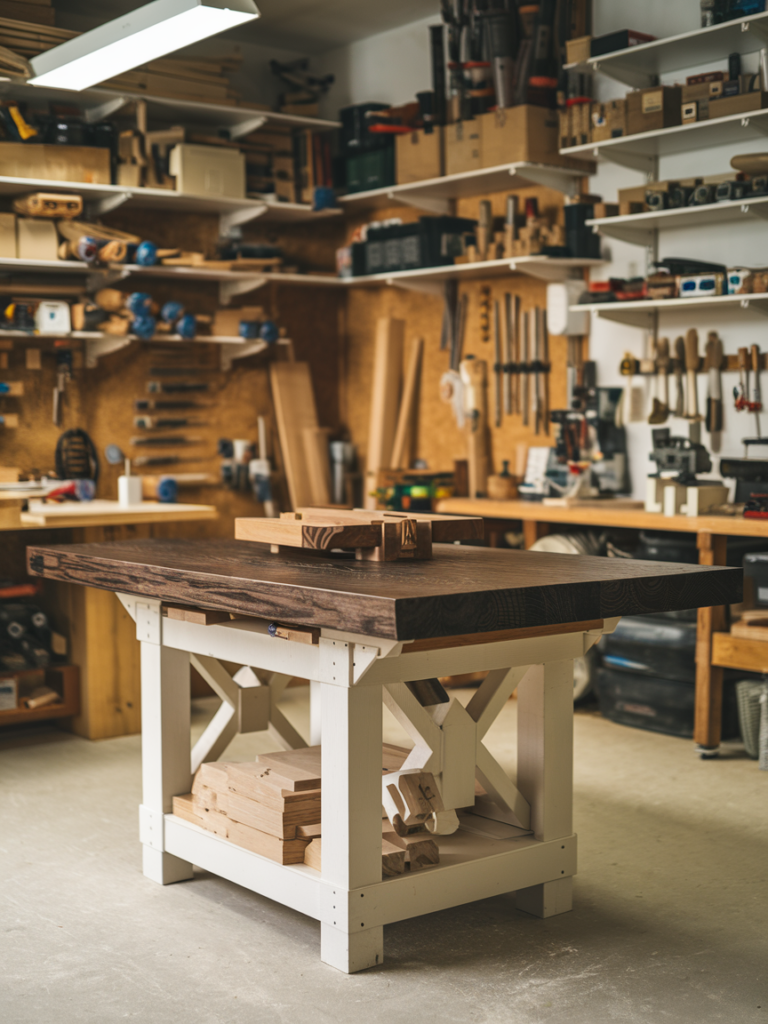
3. Central Workbench Strategy
Placing your workbench at the heart of your shop makes it a command center. From this hub, you’re within reach of all major tools. It’s like sitting in the cockpit of a well-designed airplane—everything you need is at your fingertips.
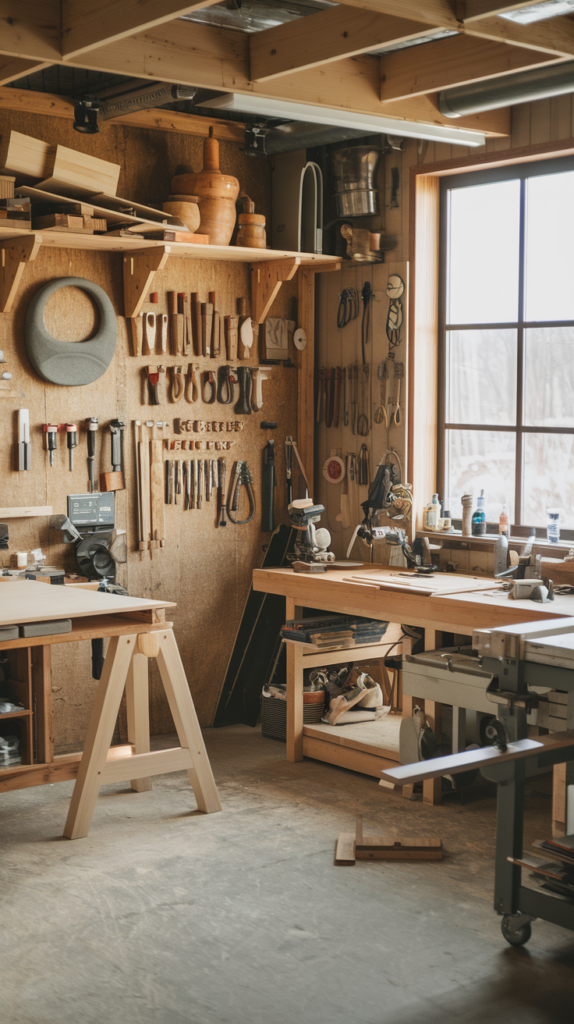
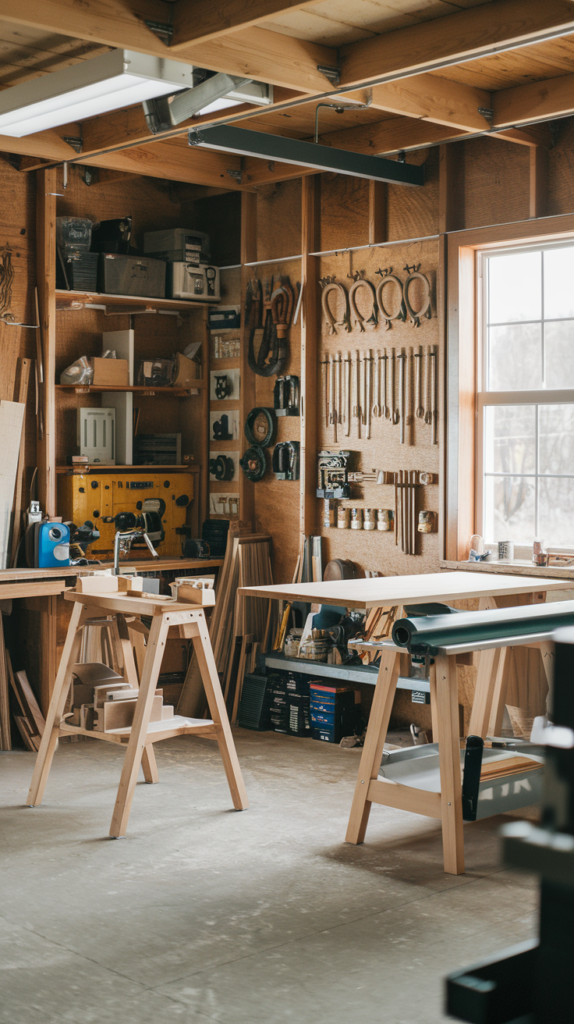
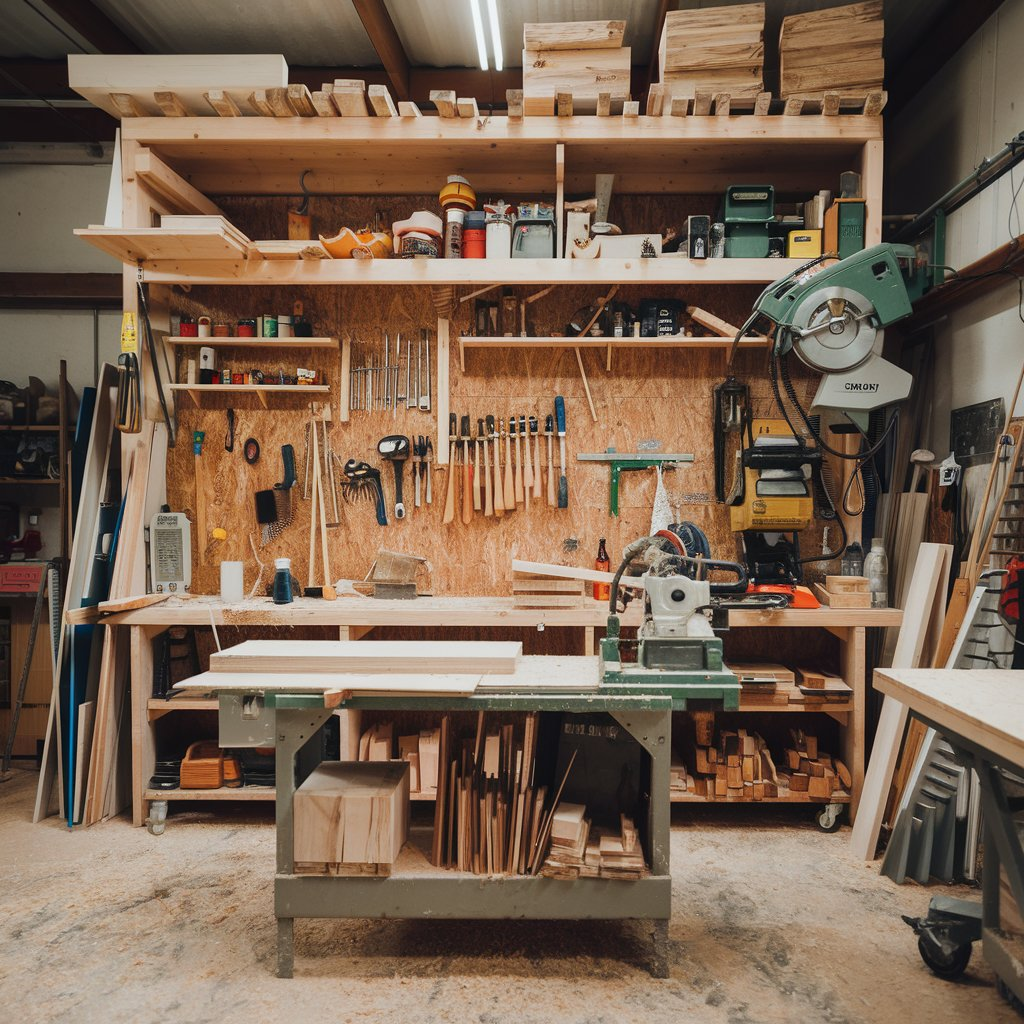
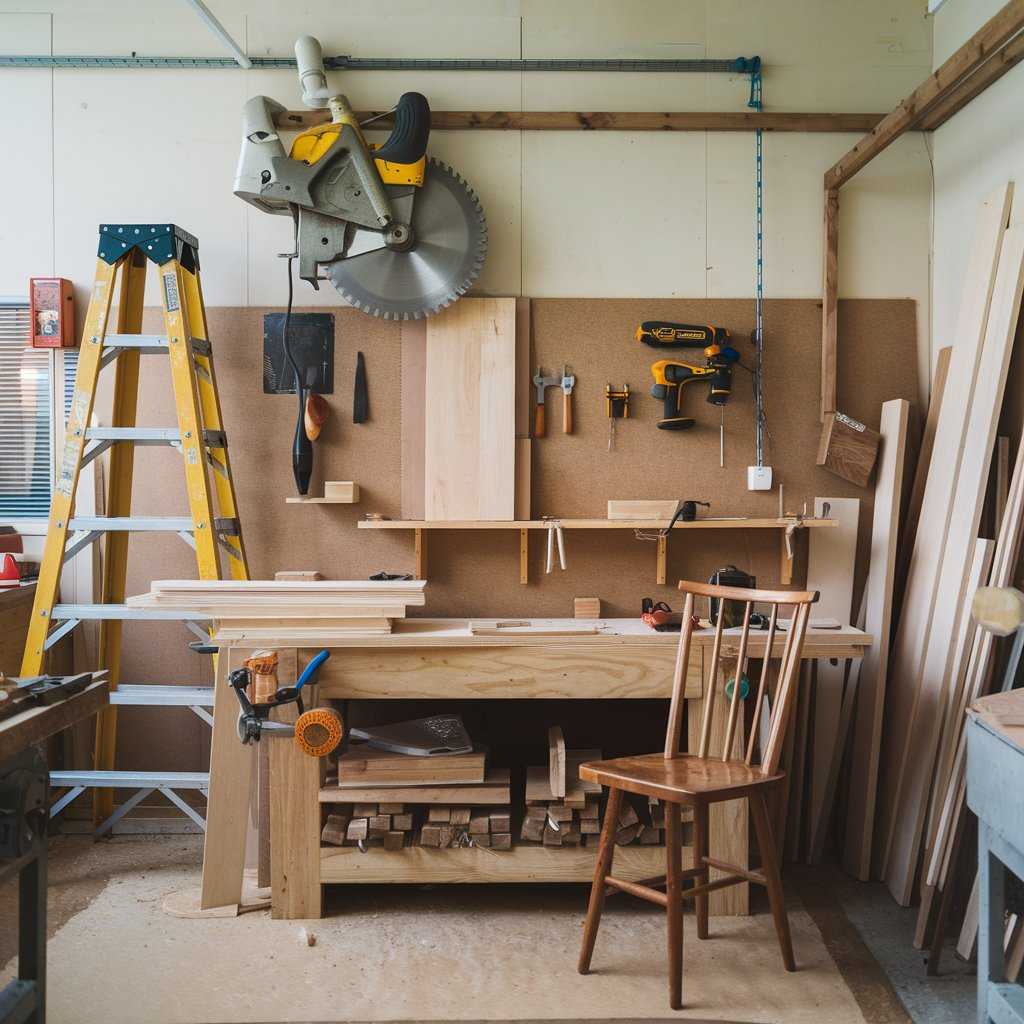
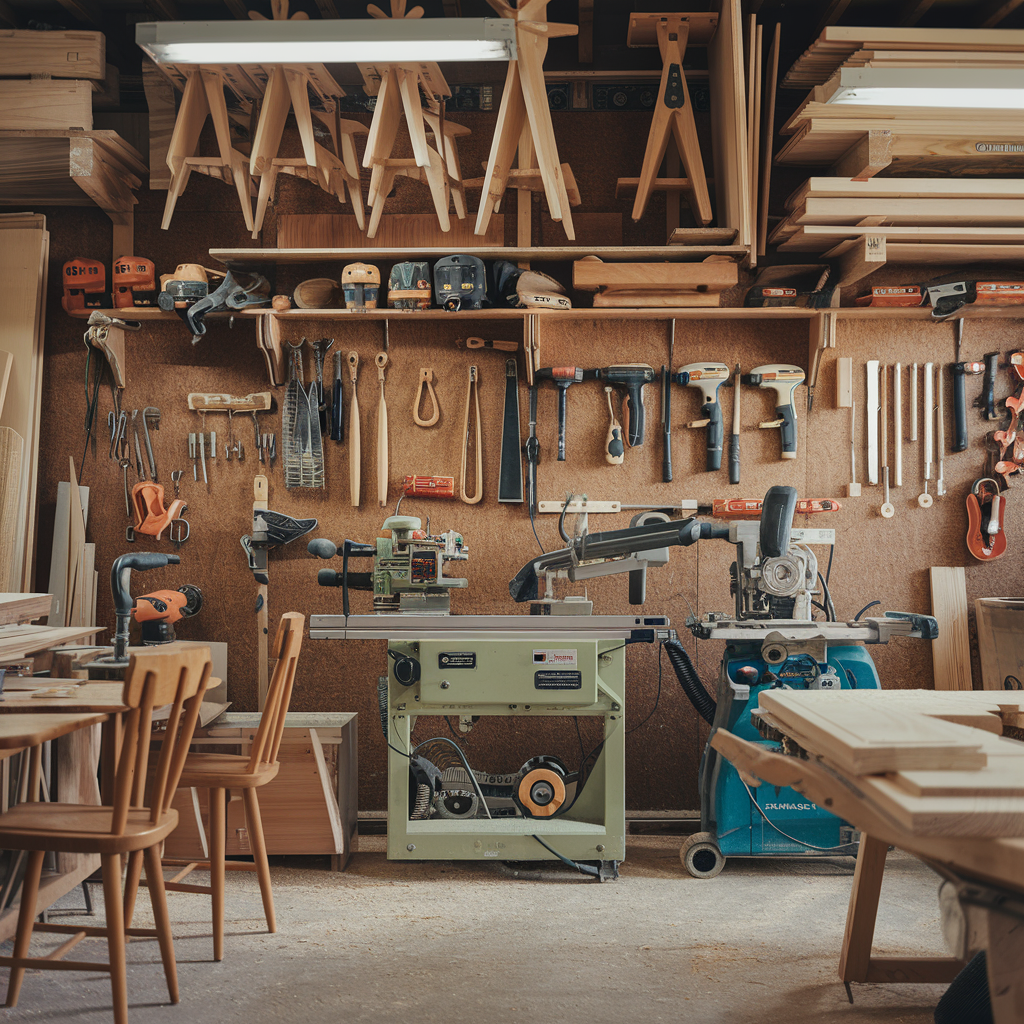
4. Wall-Mounted Tool Storage

Mounting tools on the wall isn’t just about saving space—it’s about instant visibility and accessibility. You don’t have to play hide-and-seek with your chisels anymore. A pegboard or French cleat system gives you flexibility to rearrange as your tool collection grows.
5. Rolling Workstations
Put your tools and work surfaces on lockable casters. That way, your layout adapts to the project. When I started using a rolling assembly table, it felt like my shop gained 50 extra square feet. Flexibility is key when space is tight.
6. Mobile Tool Bases

Make your larger tools mobile—tablesaws, jointers, bandsaws. You’ll be surprised how often you want to move them around for bigger projects or better workflow. Think of it like chess—mobility makes strategy possible.
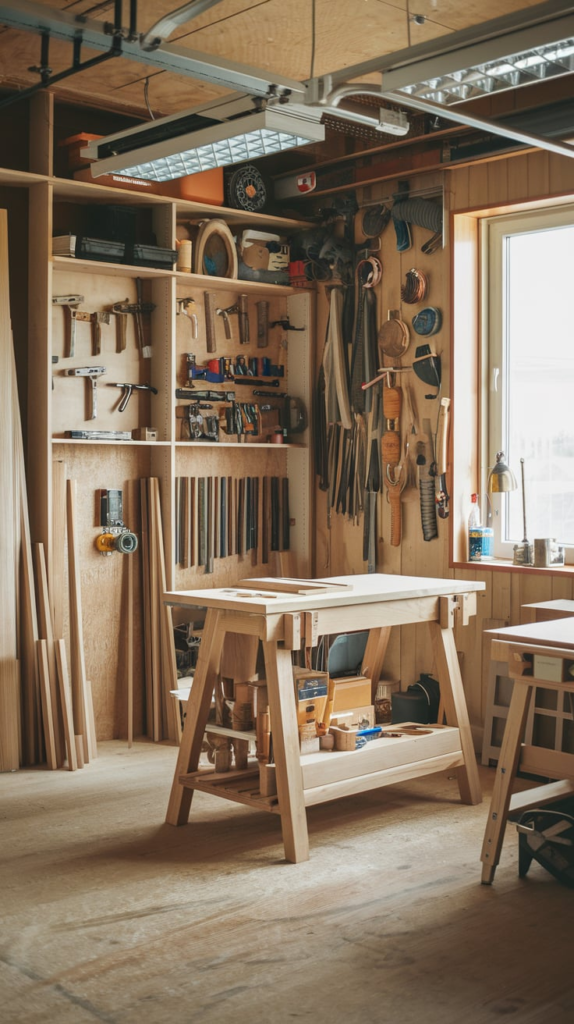
7. Optimize Vertical Space
Use your wall height wisely—add shelving, tool racks, even hanging storage from the ceiling. Your floor space is precious; let your walls and ceiling carry some weight. It’s like putting your shop on steroids without adding square footage.
8. U-Shaped Layout
A U-shaped arrangement wraps your tools and bench around you. You’re always just a swivel away from your next tool. It’s a layout that whispers, “Stay and create.” Ideal for solo woodworkers who want efficient flow.
9. L-Shaped Layout
Perfect for corner shops or garage spaces. One leg of the “L” can be dedicated to machining, the other to assembly or storage. It’s a great way to divide the messy from the meticulous parts of your work.
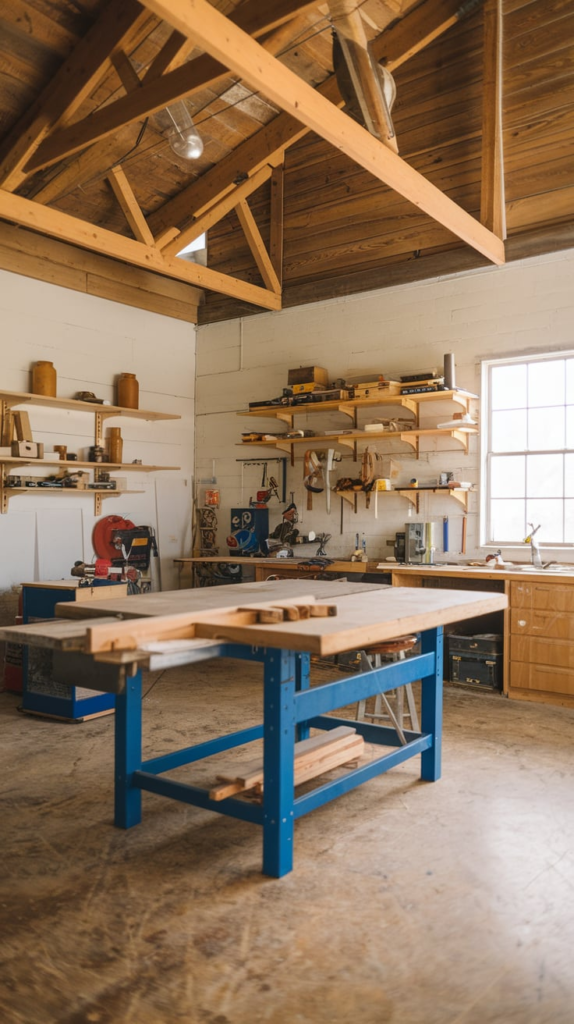
10. Island Layout
An island-style setup places a central workstation in the middle, with tools and storage along the walls. Great for collaboration or if you like working on multiple sides of your project. It’s like a kitchen island—practical and versatile.
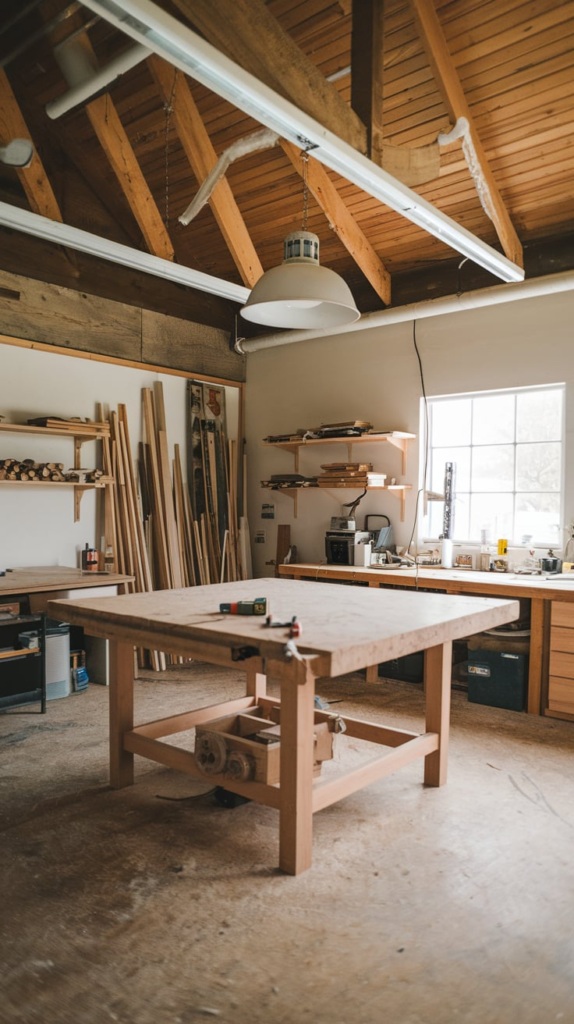
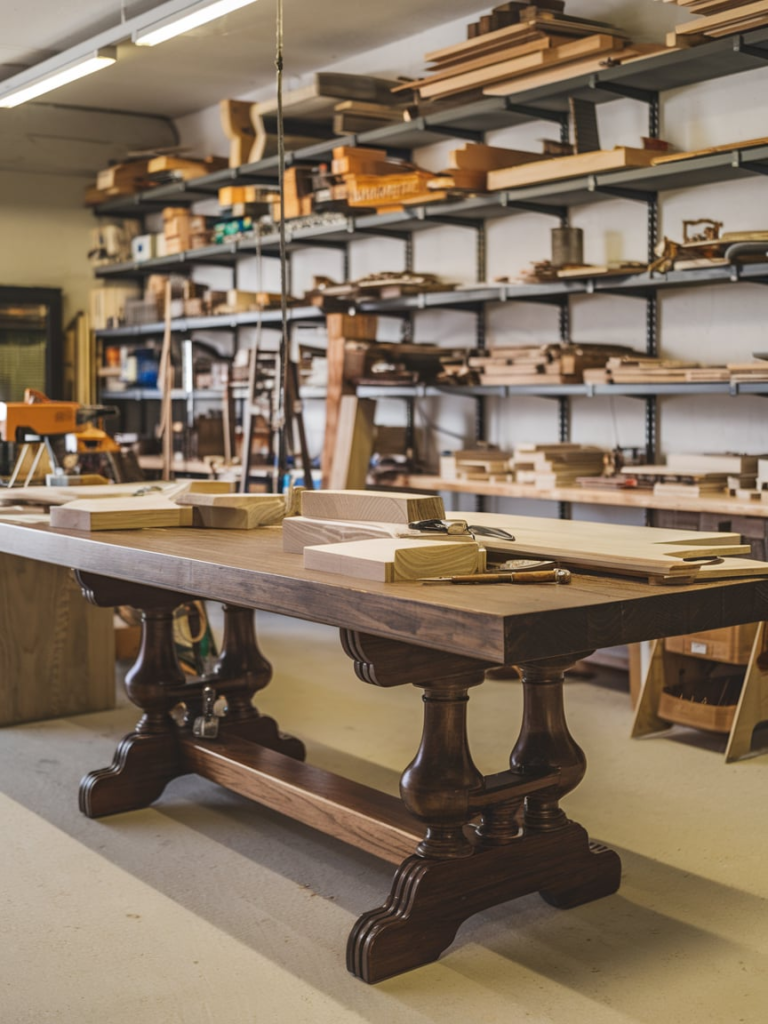
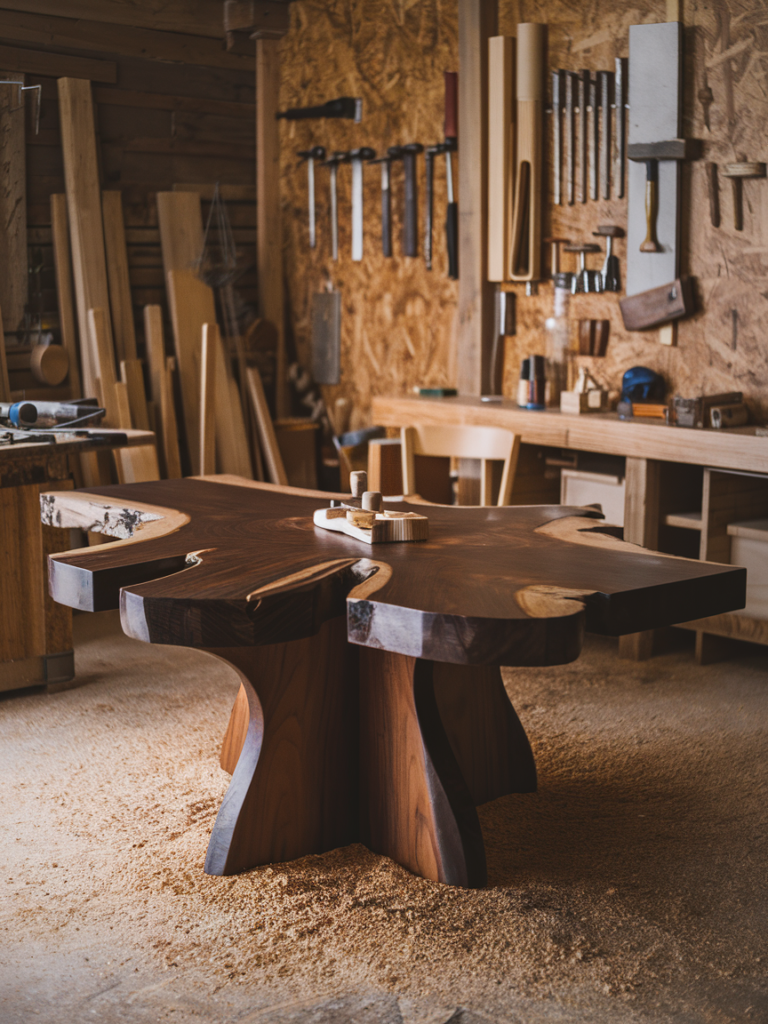
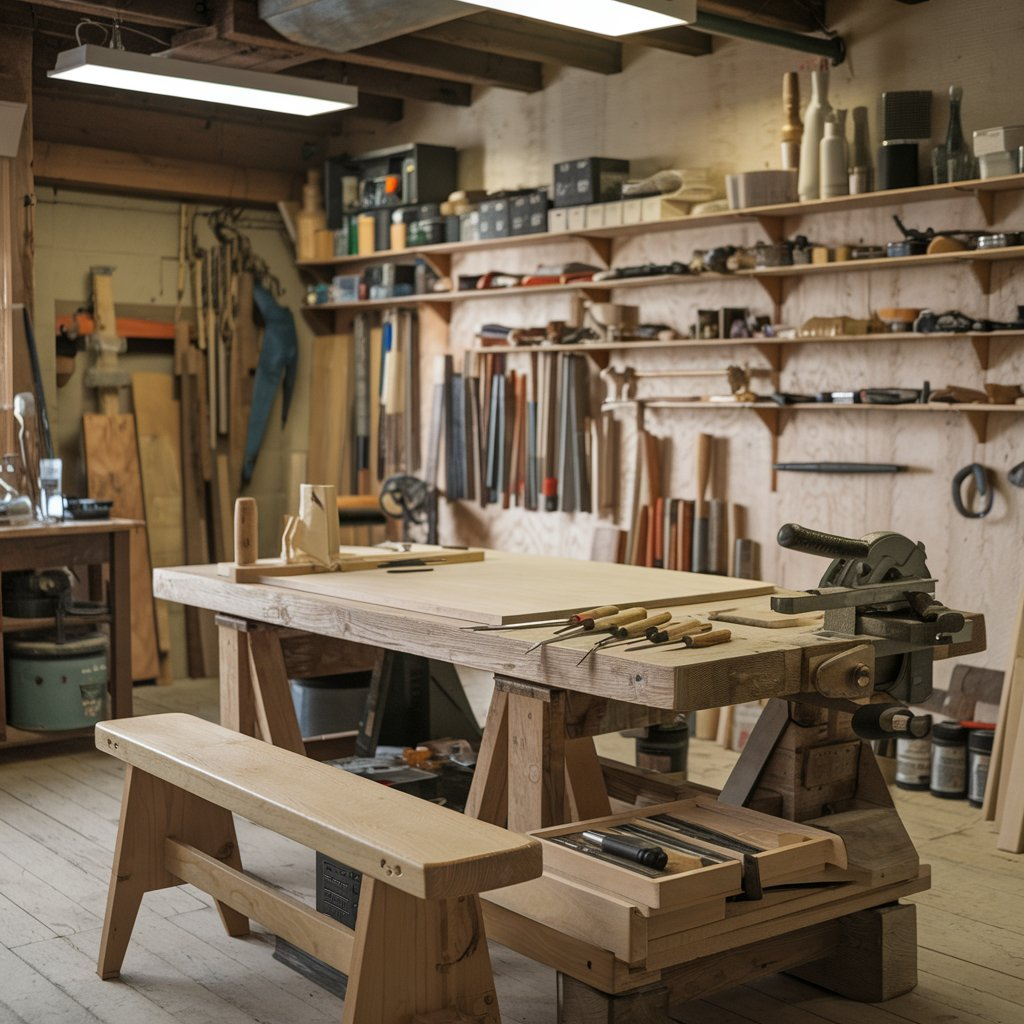
11. Bench-First Design
Design your shop around your workbench, not your tools. It’s where you’ll spend most of your time, so make it the centerpiece. My own bench is like an old friend—it’s earned its place at the center of everything.
12. Dust Collection-Friendly Flow
Arrange your shop so dust collection hoses run short and direct. Your lungs will thank you. Group dust-producing machines like planers and table saws close together to minimize ducting. Keep it clean, keep it healthy.
13. Multi-Function Stations
Create stations that serve more than one purpose. For example, a table that serves as both router table and outfeed table. It’s like a Swiss Army knife of surfaces—compact and capable.
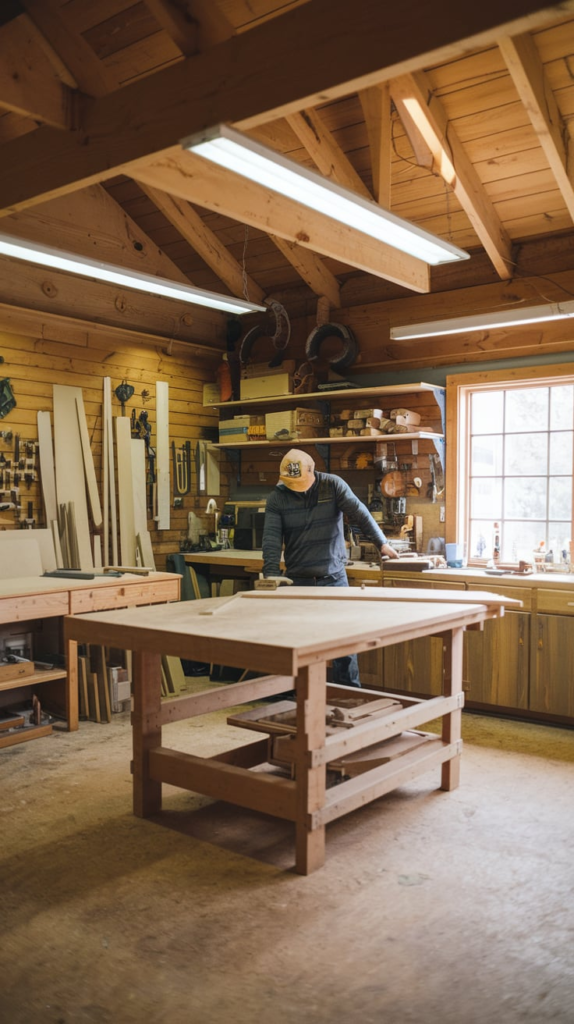
14. Natural Light Utilization
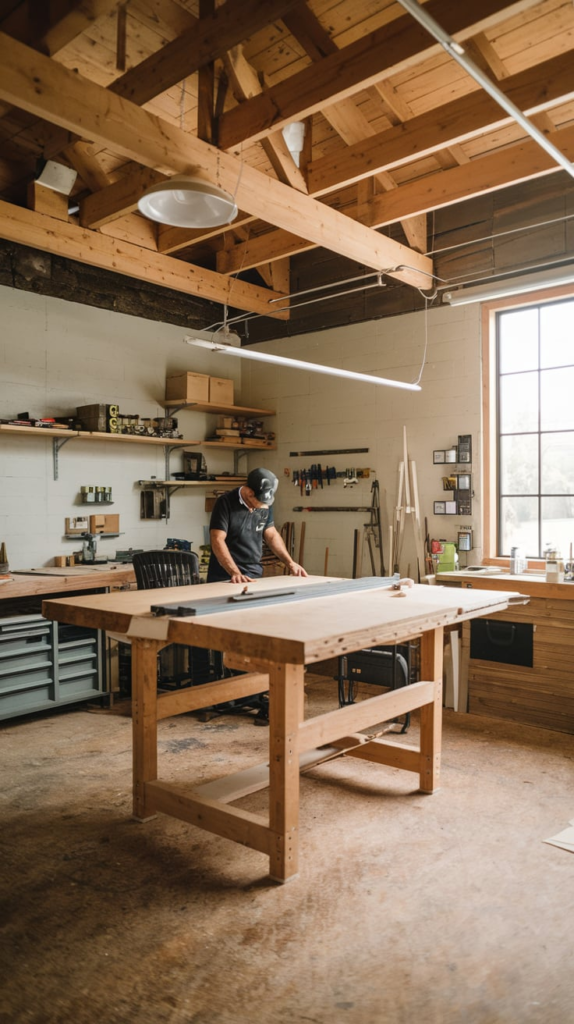
Position your workbench or finishing area near windows to take advantage of natural light. It reduces eye strain and helps you see color more accurately. Plus, there’s just something magical about working with wood under sunlight.
15. Power Access Planning
Map out where your electrical outlets are and make sure your tools can reach them. Add ceiling-mounted extension reels or floor outlets if needed. Nothing kills momentum like a tangled cord or an unreachable plug.
16. Finishing Room Separation
If possible, create a separate area for finishing work, isolated from dust. Even a simple curtain or partition can make a big difference. Think of it as your project’s final spa treatment—it deserves a clean space.
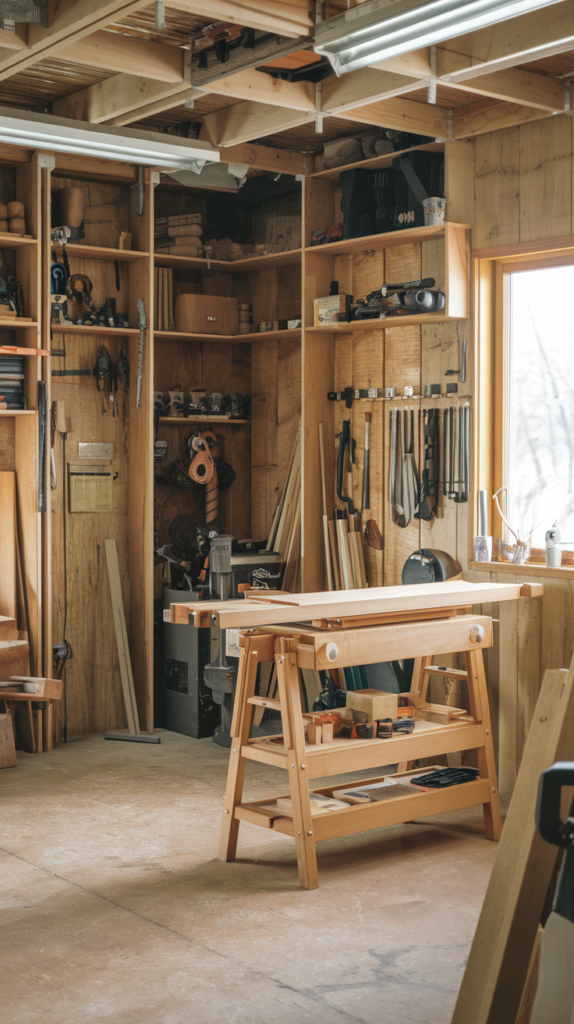
17. Compact Layout for Small Spaces
Working with a tight footprint? Use fold-down tables, wall-mounted storage, and mobile carts. I once had a 10’x10’ shop that ran like a Swiss watch just by keeping everything collapsible and multifunctional.
18. Clear Walkways
Maintain at least 3 feet of walking space between stations. Not just for comfort, but for safety. A cramped shop is a hazardous shop. Make room to breathe and move freely.
19. Visual Workflow Mapping
Sketch your layout on paper or a digital tool. Walk through it mentally—does it flow? Are there chokepoints? Think of it like storyboarding a film—you want each scene (or station) to lead naturally to the next.
20. Seasonal Layout Adjustments
Be willing to adjust your layout with the seasons. Move heavy tools closer to doors in summer, or shift operations to stay warm in winter. Your shop is a living space—let it breathe with the weather.
Conclusion
There’s no one-size-fits-all layout—but there is a layout that fits you. Don’t be afraid to experiment, rearrange, and improve. Your shop should evolve as your skills grow. Start small, think smart, and let your layout work as hard as you do. The goal isn’t just a tidy space—it’s a creative sanctuary where wood, tools, and ideas come together like a perfectly joined dovetail. Happy woodworking!